10/23/13

Basics :Blender for motion graphics #1

This is the first chapter of Blender for motion graphics ebook
This chapter deals with the basics of Blender.
First thing you need to get a latest Blender version for your current operating system. I am using Blender 2.68a. Optionally update your OS and drivers so Blender works fast in your system.
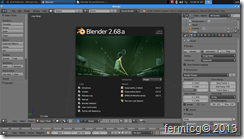
Open Blender by double clicking the icon or from start menu. You will be greeted with a splash screen.
blender splash fermicg
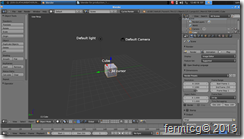
According to your Blender version the splash screen varies. Splash screen contains several useful links. Get rid of the splash screen by left clicking [LMB] out the splash screen. You can see a cube, camera, and light and a 3d cursor. See the image below.
blender default fermicg
Blender has annoying UI (for me), so I always set it my own preferred way so it behaves like other 3d applications. Blender uses Right click [RMB] for selection LMB for other purpose! If you use other 3d software or
graphics applications, this will create problem. So we need to change.
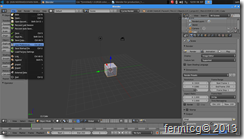
Go to File→user preference [CTRL+ALT+u]
blender user preference fermicg
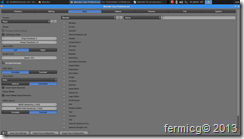
select the interface tab and turn on “rotate around selectionand “Prompt Quit”(only available in Windows).
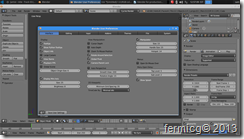
blender interface preference fermicg
Blender will quit without any warning if you click the close button. If you chose the prompt quit Blender will give a warning message before closing. Only for Windows users!
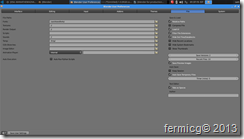
In the input tab you can select different preset for keyboard shortcuts and navigation. Here we are going to change the RMB issue. Depending on the Blender build, you may get 3ds Max, Blender and Maya. SVN and Graphicall build may contain more preset. Simply select Maya for navigation preset. This is the best navigation option than default Blender setting. Throughout this book I am using Maya view port navigation setting. Do not change the keyboard layout because we are using default Blender settings. If you are using laptop turn on “emulate keypad”.
blender input fermicgIn the theme tab chose the theme of your choice. I am using default one.
In the file menu, choose the path for fonts, texture, and sound, render output etc. Depending on the OS the path varies. You must choose the font folder in order to follow this book.
For Windows : C;/windows/fonts
For Linux : /usr/share/fonts/
blender  fonts fermicg
In the system tab, turn on CUDA under compute device.
Finally save user settings and close user preference dialogue.
RBCs in Blender particle instancing tutorial

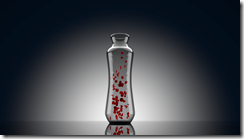
In this tutorial you will learn add particle instanced RBCs inside a bottle in Blender. You will learn to model, texture an RBC, adding particles and instancing, adding inter particle and instanced collision, particle to mesh collision, randomizing instanced particles in Blender, stimulating and baking the particles.
Software : Blender 2.69 RC 2
Difficulty : Beginner+ 
Download the finished scene file here
Missed the Lighting part? Watch it here.
rbcs in blender fermicg


Fluid effect in Blender tutorial

In this Blender tutorial you will learn about how to stimulate a realistic water easily in Blender. Topics include adding fluid container, setting the property of the fluid, adding emitter (inflow fluid), collision (obstacle), tweaking the fluid, adding smooth modifier, Boolean modifier for fixing the fluid shape to the container.
Software : Blender 2.68a
Difficulty : Beginner+ 
Download the finished blend file here
Missed the static fluid part? Watch it here.
fluid in blender fermicg

Adding static water in Blender

In this Blender tutorial for beginners, you will learn to add static water to the glass bottle we created early. This video tutorial cover parenting, duplicating, selecting the desired polygons, duplicating and separating the selected polygons, filling the hole, adding water material to the mesh etc.

Software : Blender 2.68a

Difficulty : Beginner+

Missed the Lighting part? Watch it here.

water in blender

Studio lighting in Blender for product rendering

In this Blender tutorial you will learn about the studio lighting technique for product rendering. However this tutorial is based on Blender, the same technique can be used for any 3d rendering software which supports photorealistic rendering. You will learn about adding indirect lighting using planes and emission shader in Blender. Glass material, Cycles rendering techniques is covered. Plus little bit about camera and camera angle for product rendering.
Software : Blender 2.68a
Difficulty : Beginner+
Download the finishe blend file   here
Missed the modeling part? Watch it here.
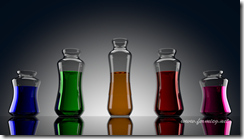
final bottles